#Tactile Z

By
Clayton
Published 2024-08-05

Difficulty Time Cost
2/510 Minutes$1.00 - $5.00 USD

# Prerequisites

Parts
1x Tactile Switch (75-150gf)
Tools
Soldering Equipment
Tool Recommendations
../../tools/
Triwing Y2.5 screwdriver
Tool Recommendations
../../tools/

# Guide

1 Disassemble Controller

Start by disassembling your controller using a Y2.5 screwdriver (or another bit type if you have custom screws). Carefully remove motherboard from the shell. Remove stick caps (optional) to prevent any accidental smudges or iron marks.

2 Desolder Existing Z Switch

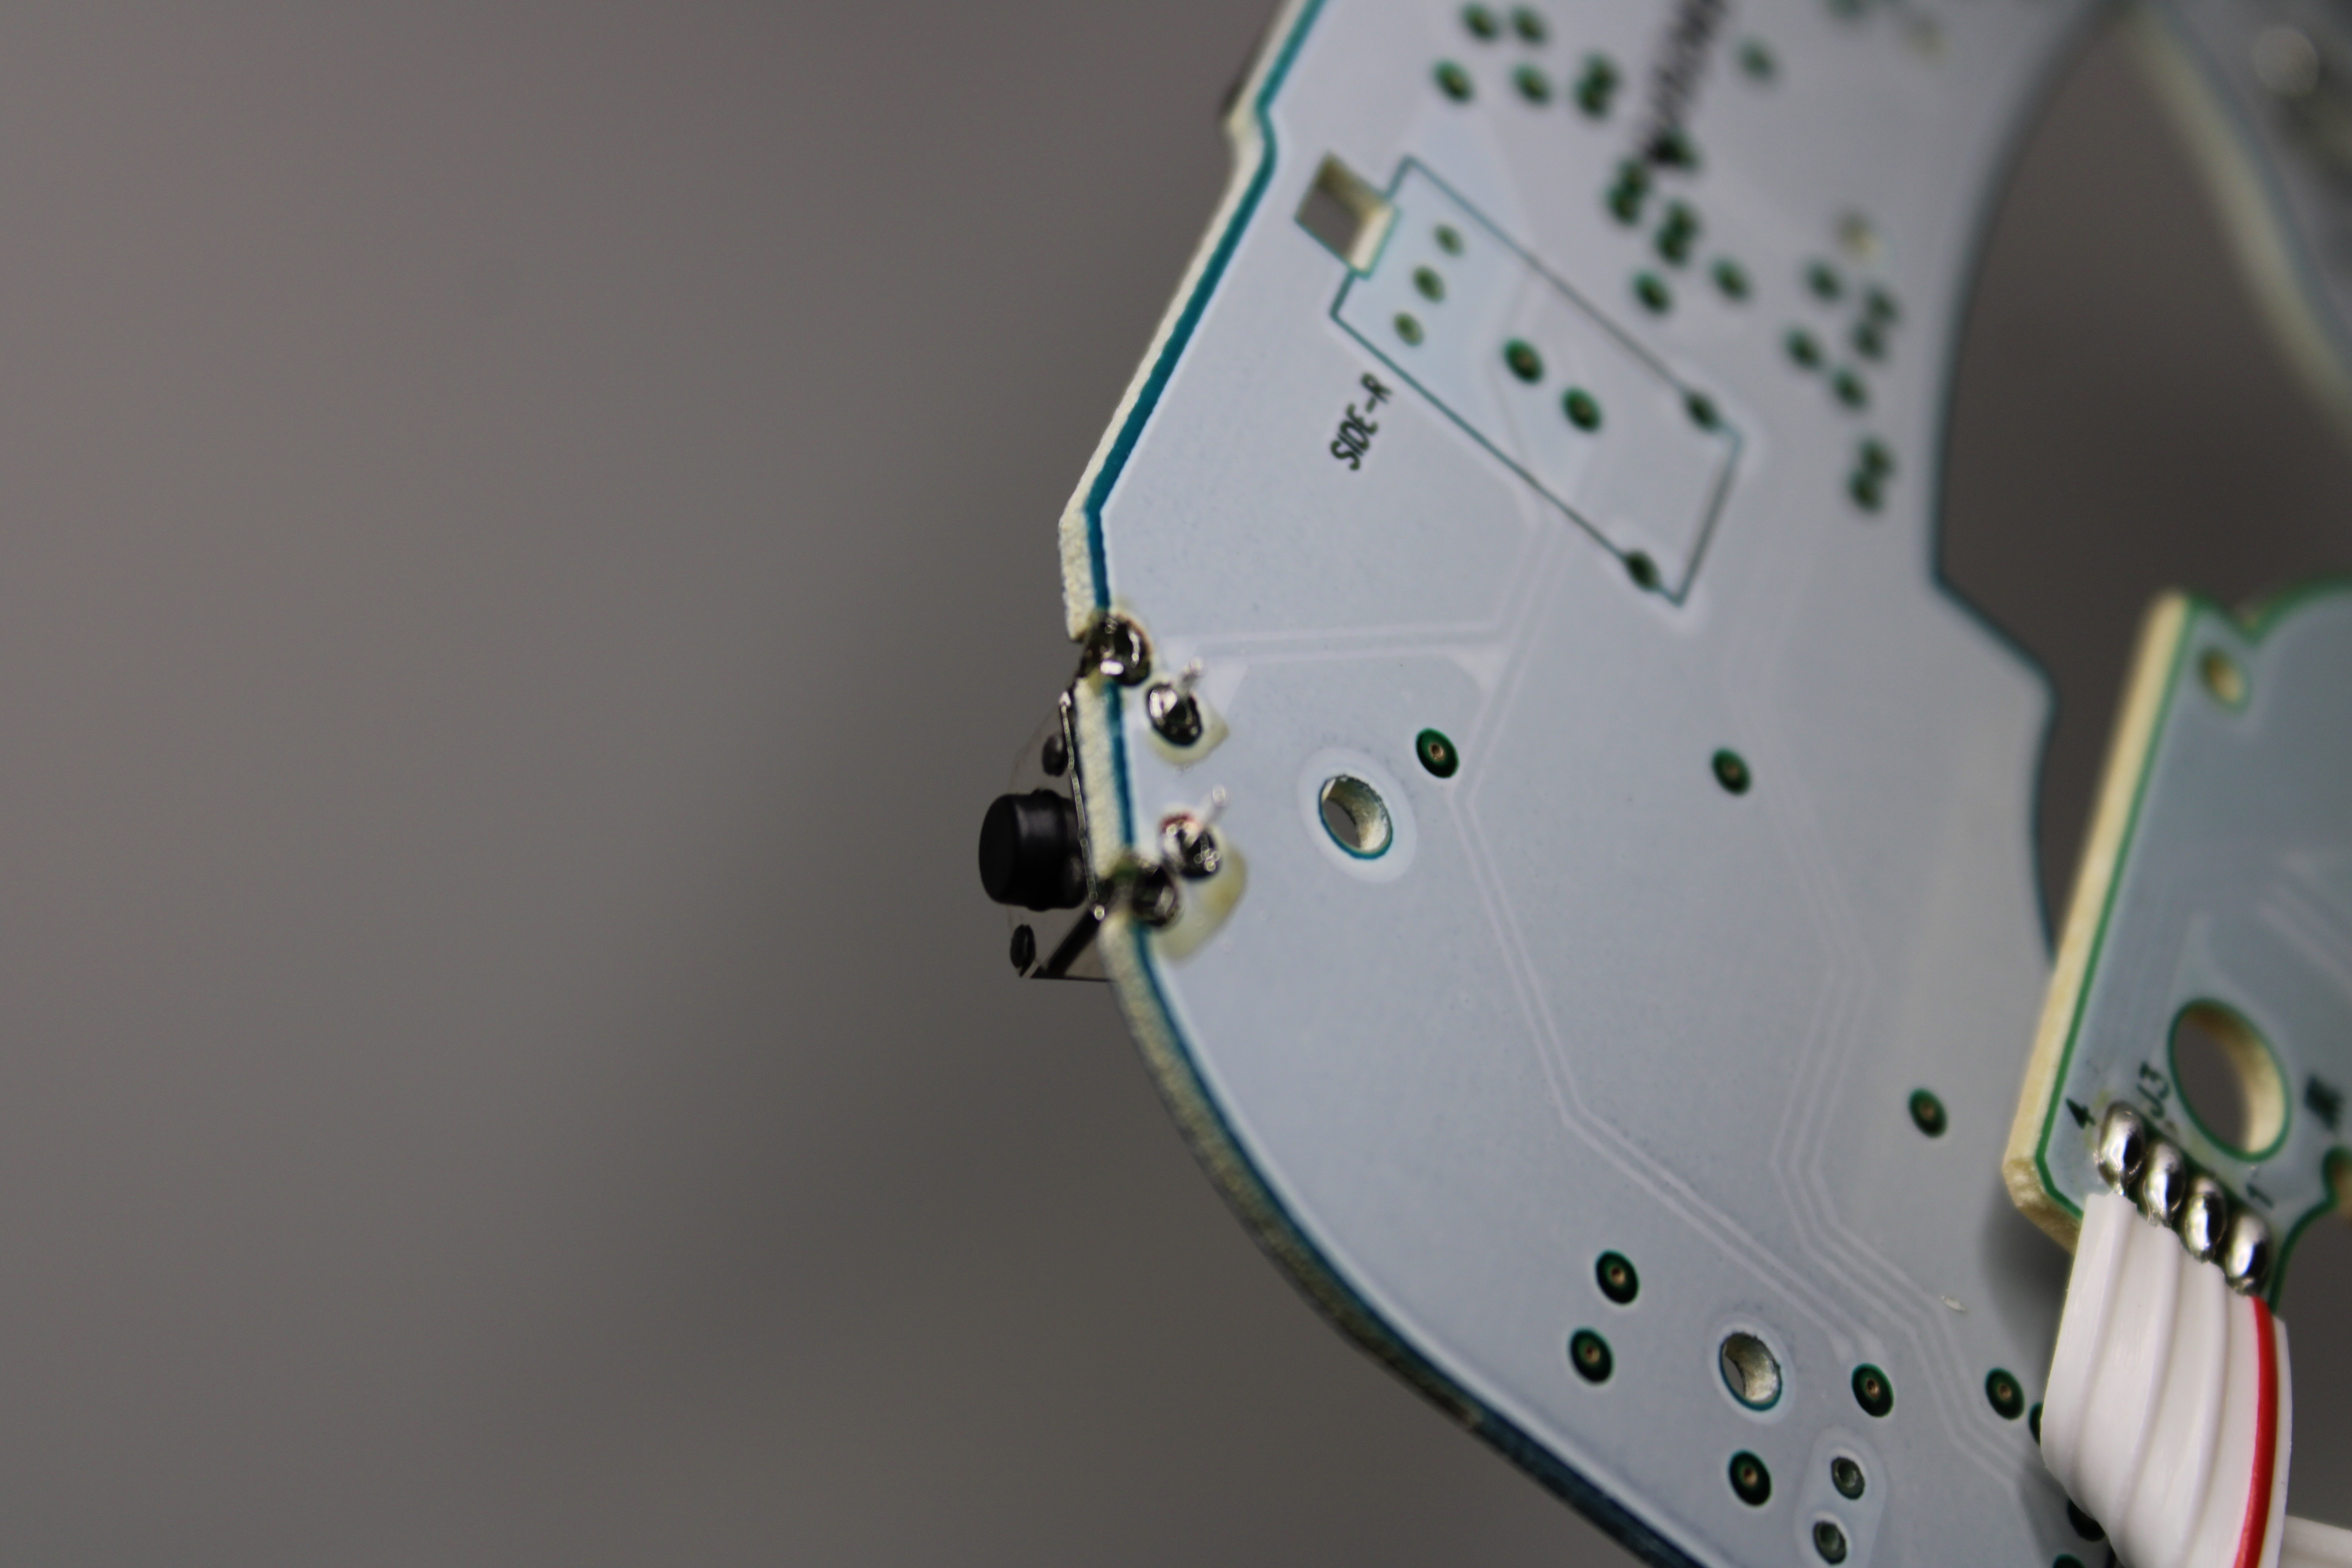
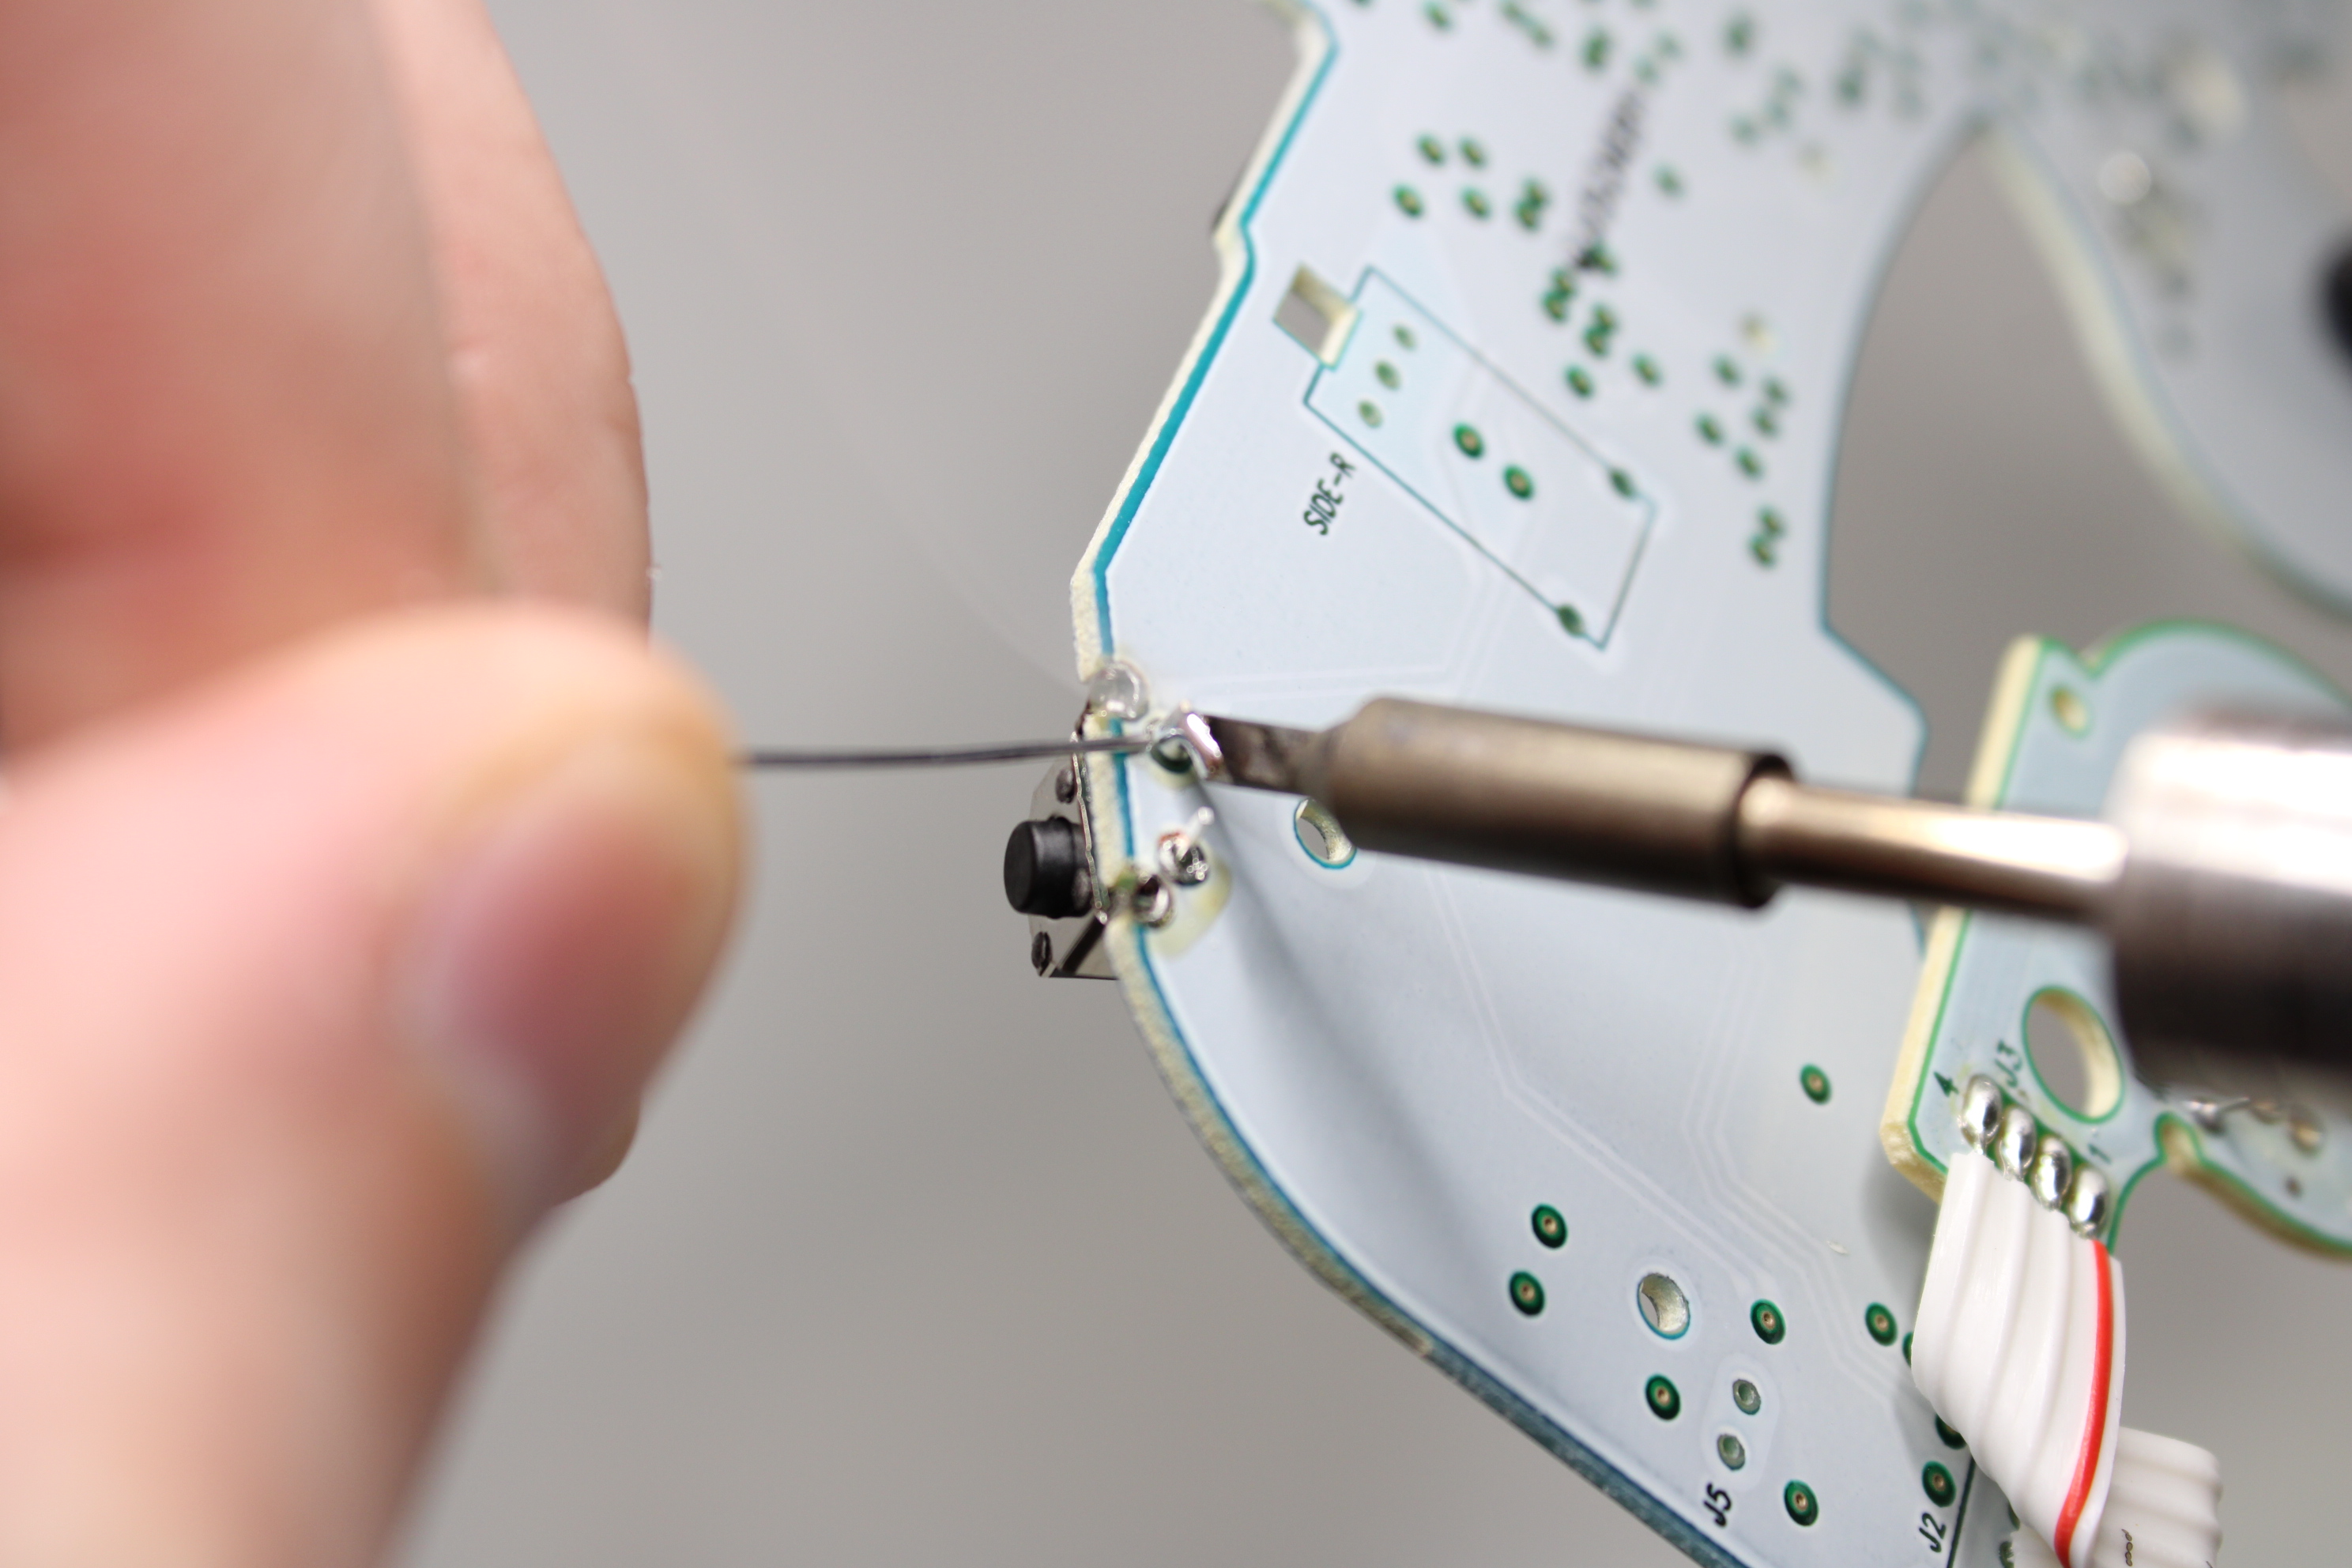
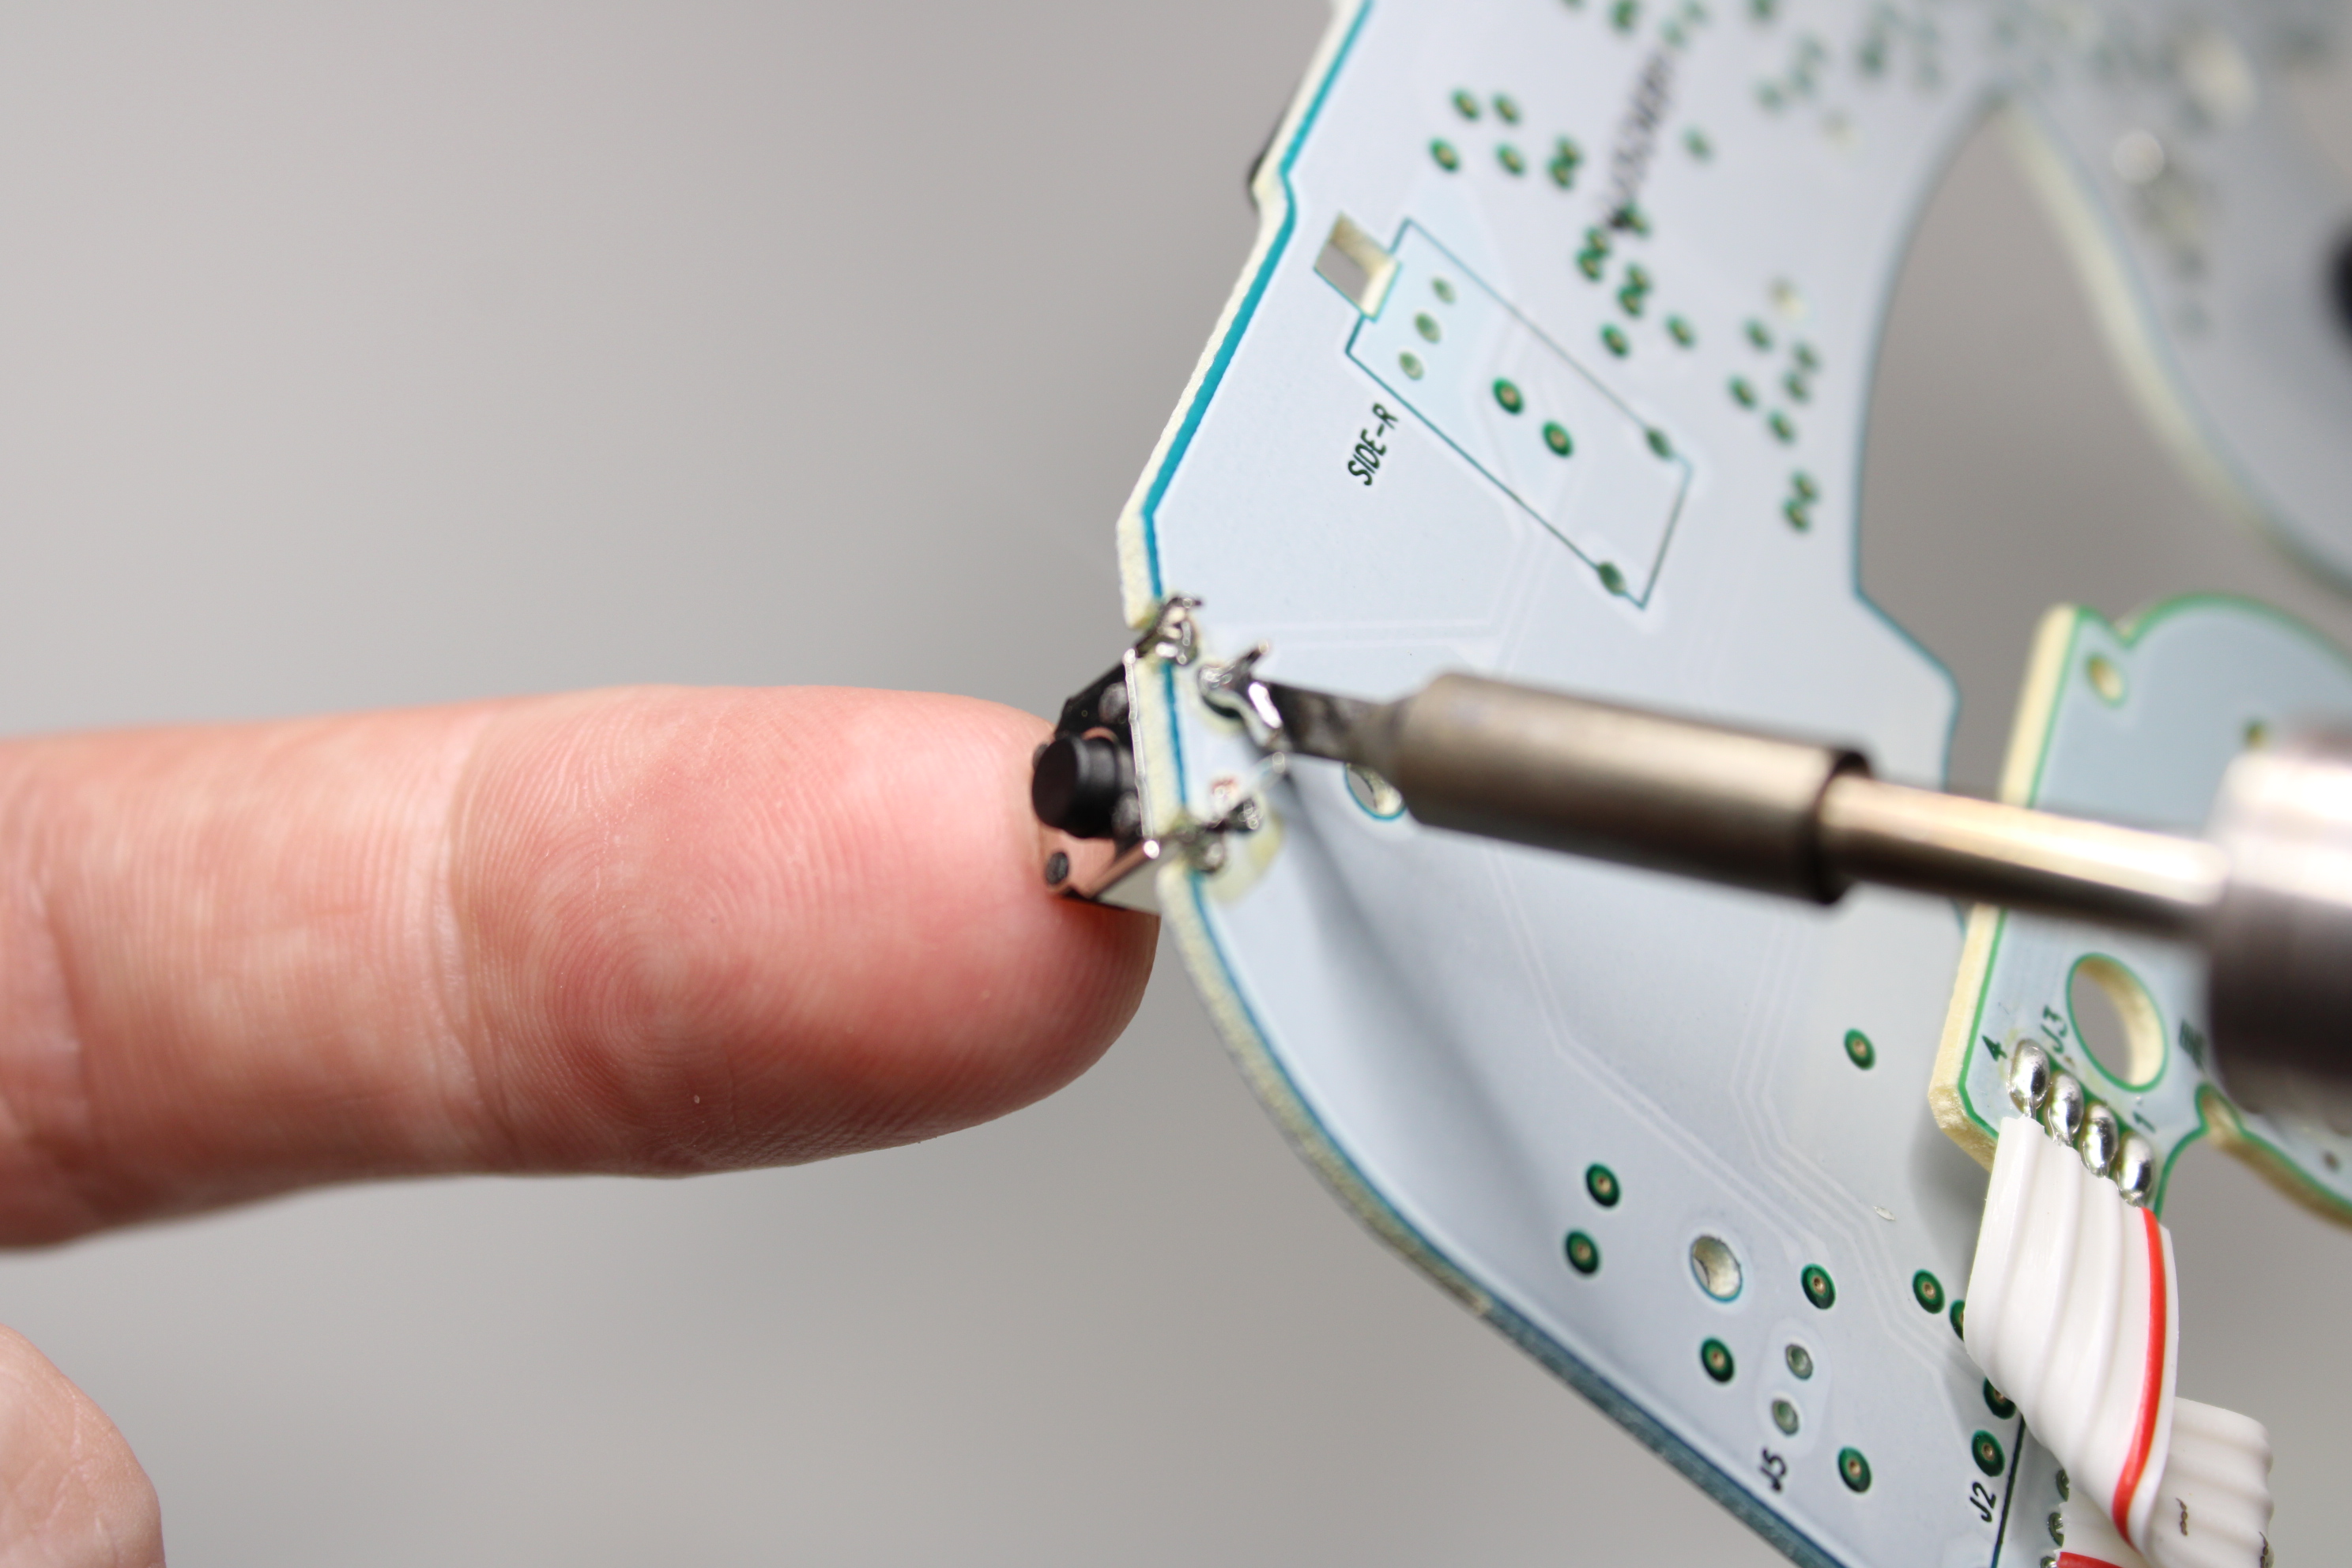
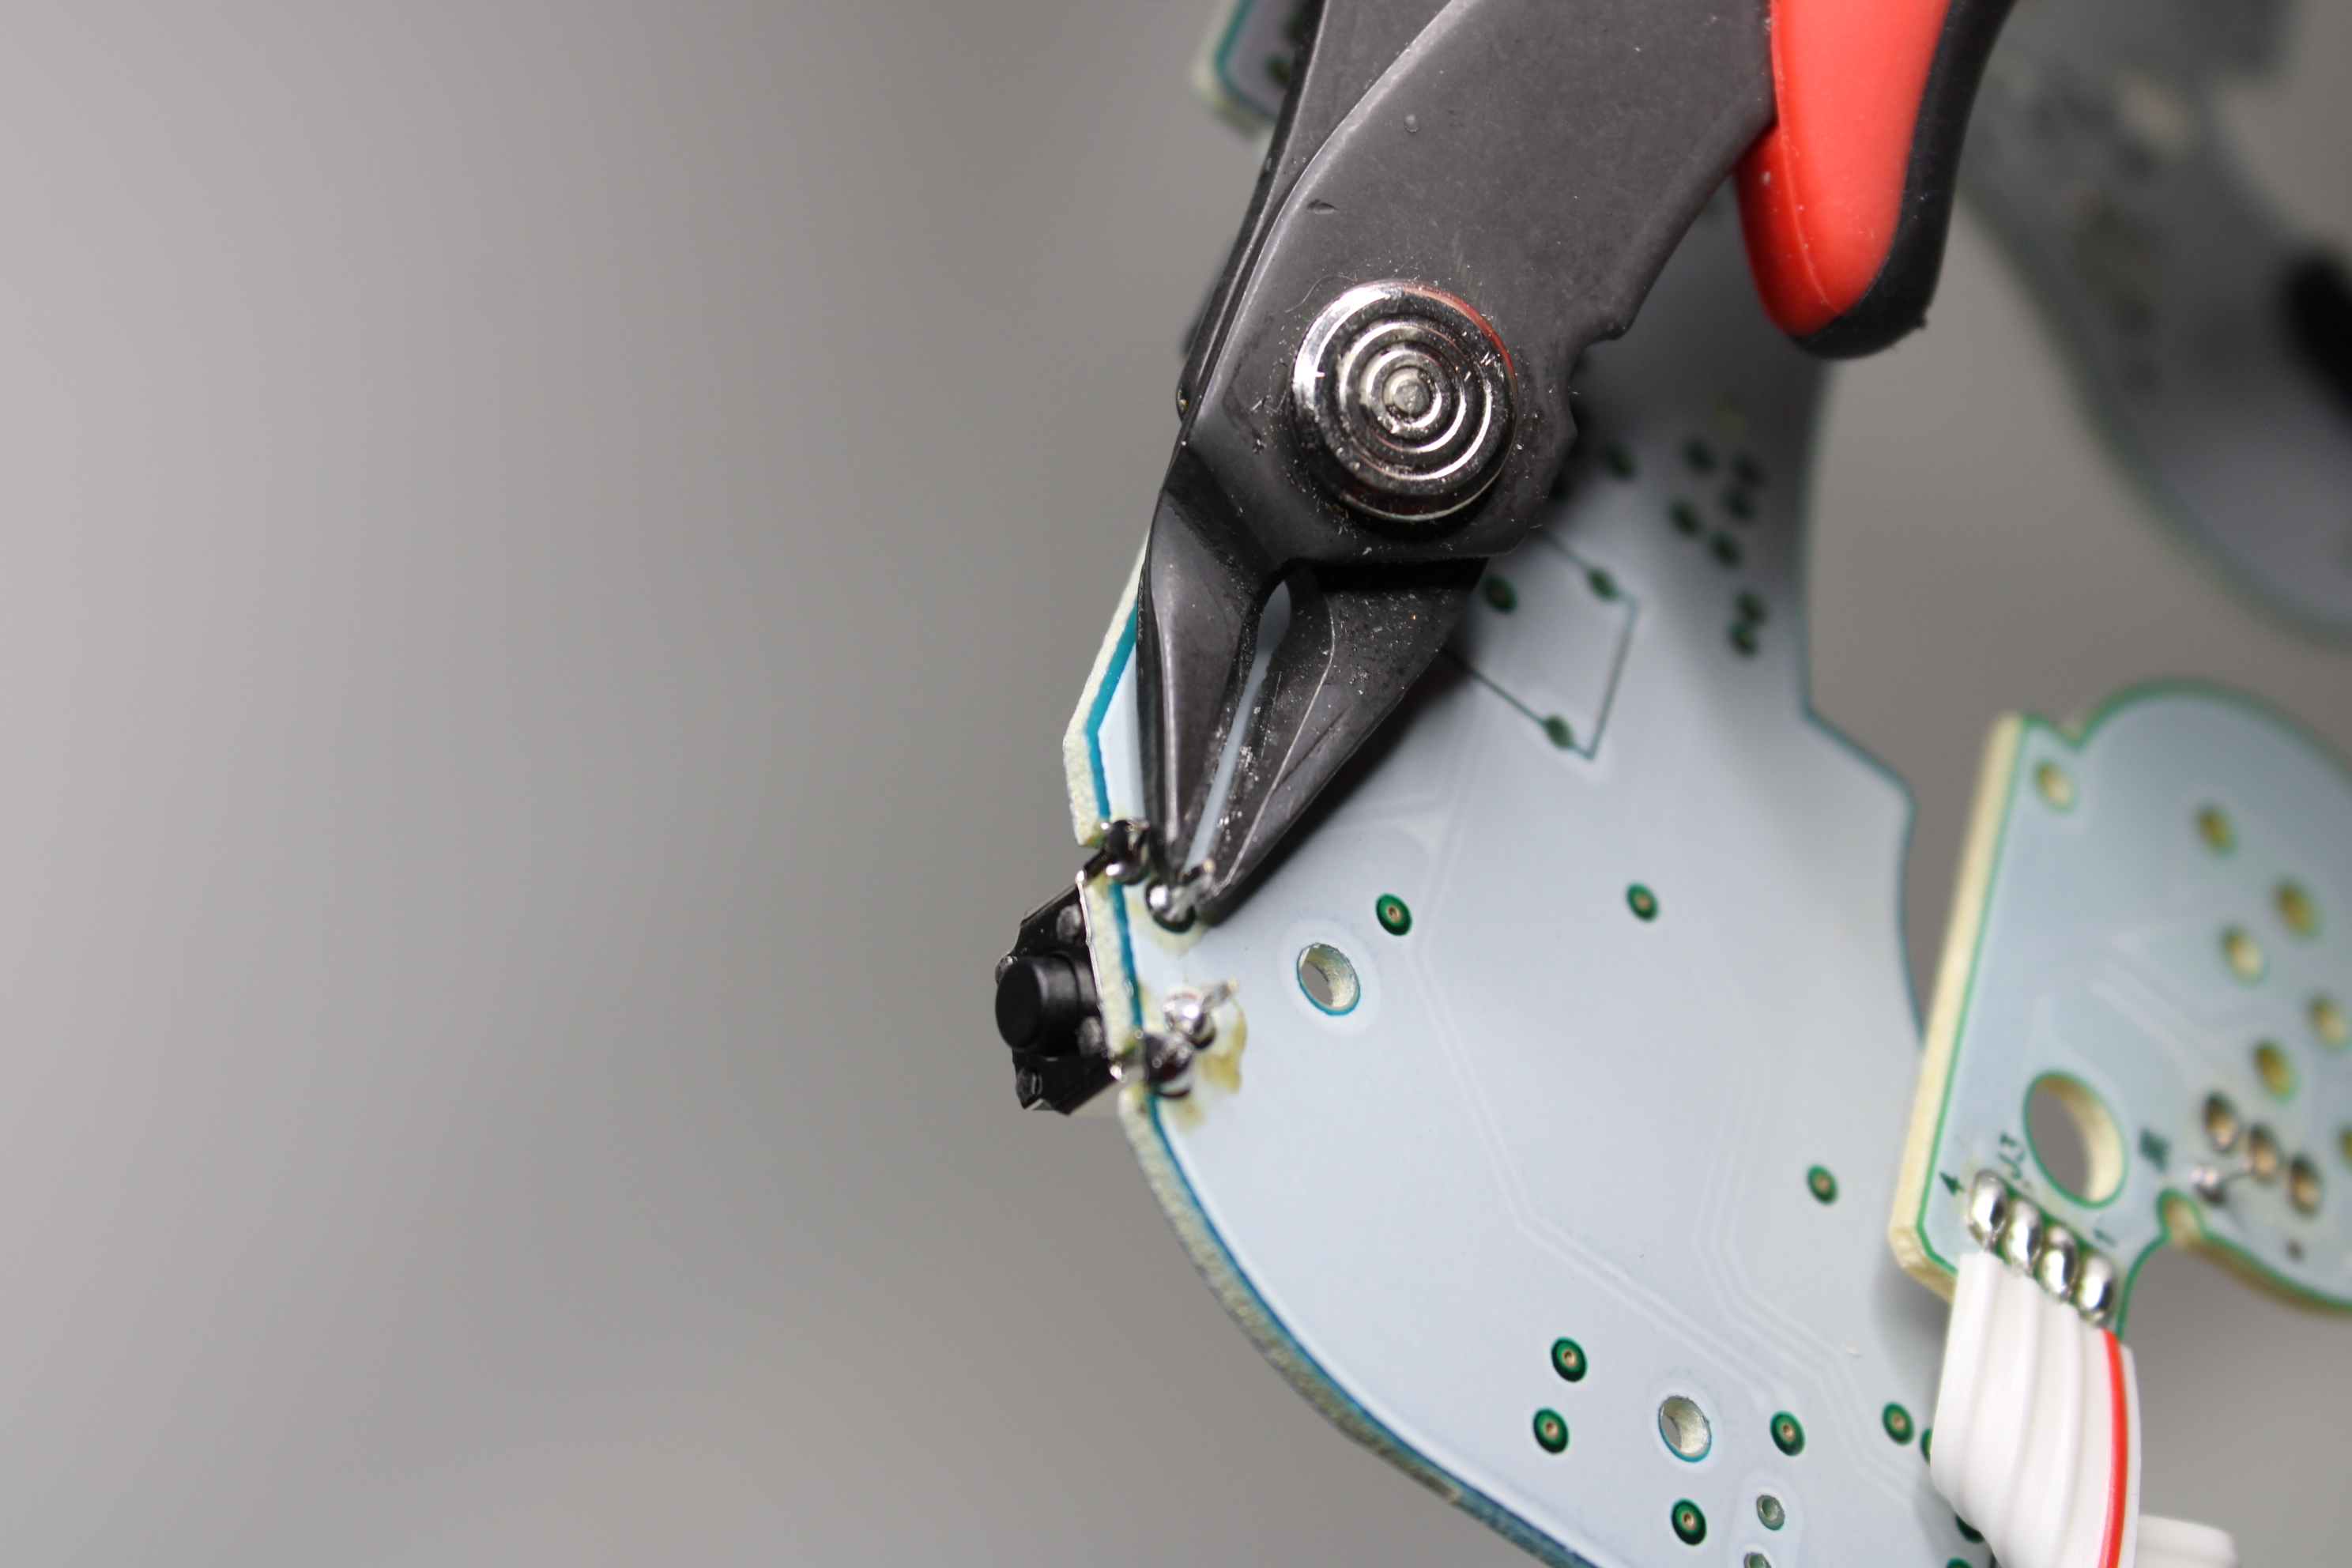
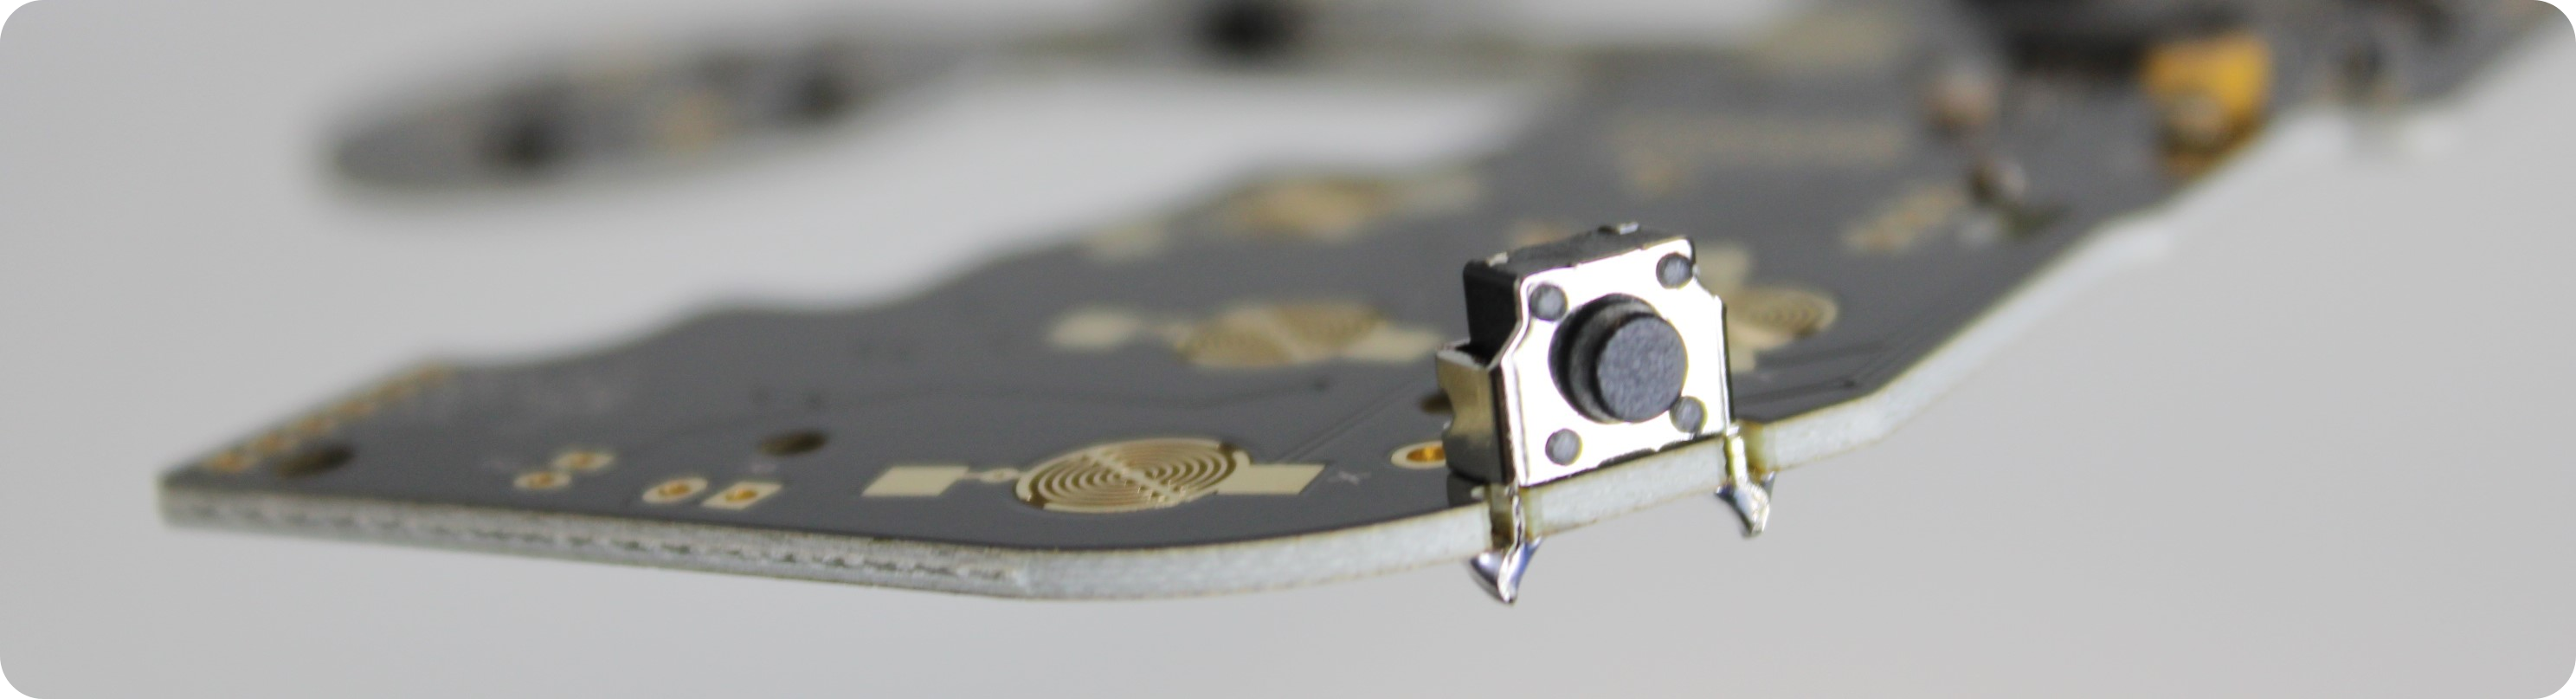
Using solder wick, pump, or gun.. carefully desolder the 4 pins holding the switch in.

3 Solder New Z Switch

With the motherboard upside down, place the new switch in as pictured. The mounting pins that are curved will hold it in place temporarily.

Choose one of the inner pins and lightly apply some solder.
Reheat the pin you just soldered and with your other hand, push up on the switch so that it is properly aligned with the motherboard. Stop heating and continue to apply pressure on the switch until the solder cools.
Continue by soldering the remaining 3 pins. Optionally take a pair of flush cutters or scissors and trim the 2 inner pins down to prevent potential shorting or contact with other parts.

4 Reassemble Controller

Reassemble your controller as normal and test Z button functionality to ensure desired function.